To make a four column layout in the WordPress Gutenberg editor, select the equal three column layout, hover over a gap between the columns and add the fourth column.
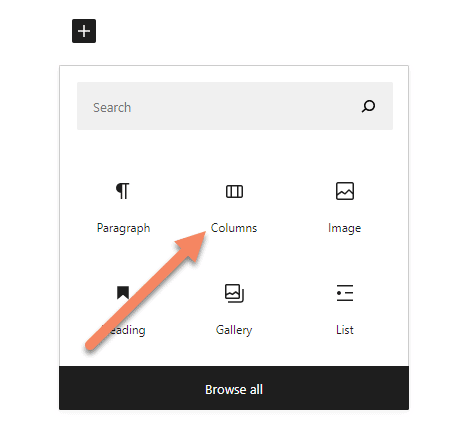
Start by choosing the "Columns" block.
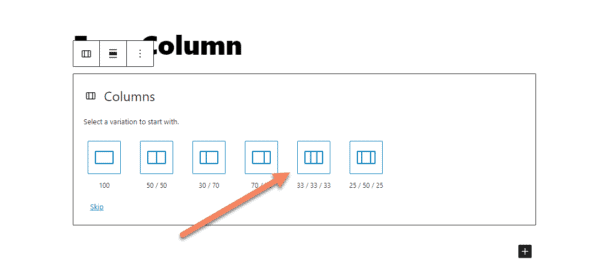
Assuming you want four equal columns, choose the three equal columns variation. It's the 33 / 33 / 33 one.
Even though the columns are technically 33.33% width, it doesn't set a specific custom width, so when you go to add your fourth or fifth column, it will just make them all equal 25% widths.
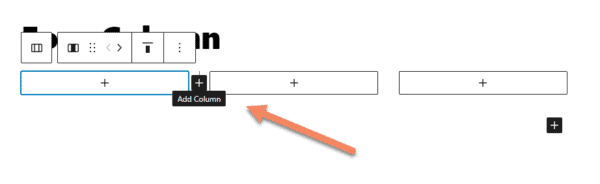
Hovering over the gaps between the columns brings up a "plus" icon. If you hover a bit longer you'll see the "Add Column" tooltip, but you don't need to wait for that.
Click the plus icon to add a column in the space where your cursor is hovering.
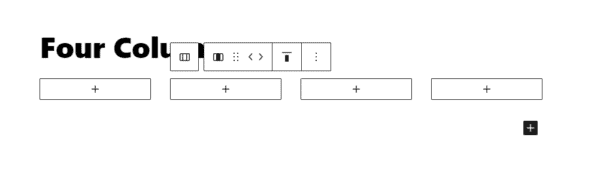
You should now see four equal columns.
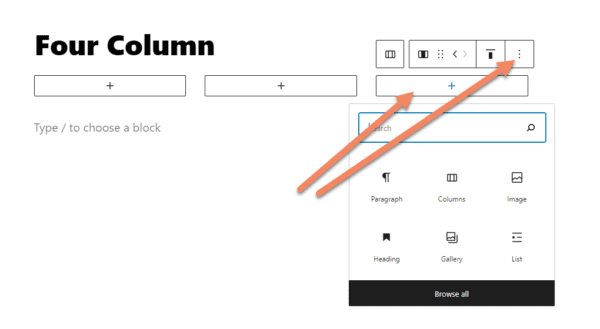
Add a column to the end of the row
If you want to add a column to the end of a row, select the last column and duplicate it.
This takes more steps than the other method I went through in this guide. You may want to do it this way if you already have content in place, or you've already setup custom widths for your columns.
If you don't have any blocks in the column, the simplest way is to click on the column, then click the three dots on the right of the popup.
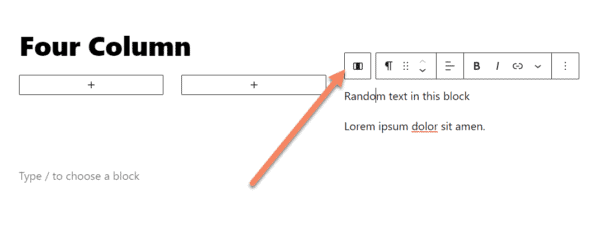
If you already have blocks in the column, selecting any of them brings up a box where you can select the column instead of the block.
The other way to select the column is to turn on List View (Shift + Alt + O) or click the List View icon. Then choose the column.
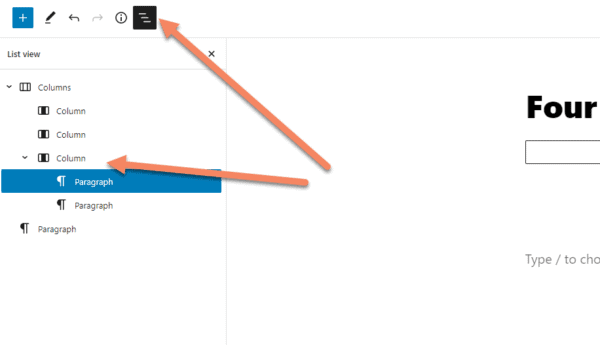
Once you have the column selected, click "Duplicate" or hit Ctrl + Shift + D.

Now you'll have a four column layout.
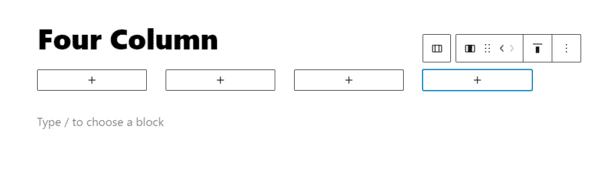
Depending how you setup the other columns, you may need to readjust the widths of the columns.

Thank you very much. :)