We do a lot of backups, website migrations and other restorations with BackupBuddy.
BackupBuddy is on my list of essential plugins. You can check it out here.
How to migrate a WordPress site with BackupBuddy:
- Create a Complete Backup
- Download the zipped backup and importbuddy to your computer
- Upload the files to your new server
- Create a new database
- Run the BackupBuddy installer
Create a Complete Backup
There are five different types of backups you can do with BackupBuddy, but for moving a website we need the Complete Backup.
That will include all the files and the database.
Navigate to Backup and click Complete Backup.
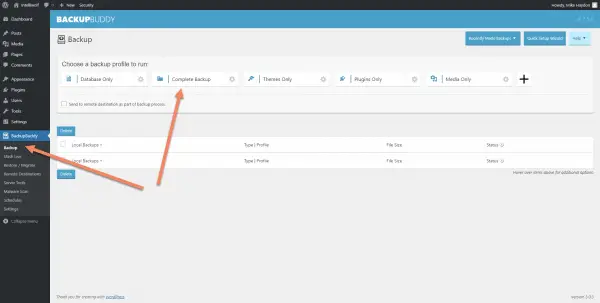
It will take some time to run.
If it ever gets stuck, check the Status Log tab. That will have any error messages. The most common one I've come across is not enough memory.
If your setup doesn't have enough memory, check out this article on how to fix it.
Download the backup files to your computer
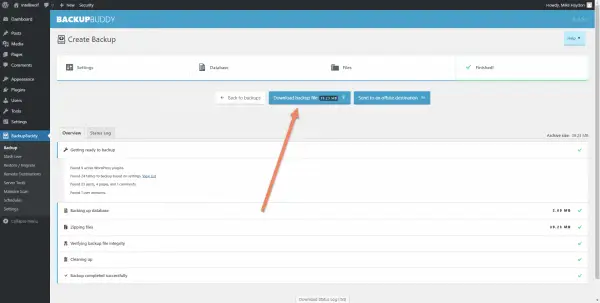
Once the backup is complete, you'll see a button prompting you to download the backup file.
This will be a zipped file, probably quite large, that contains all the files from the server as well as the database.
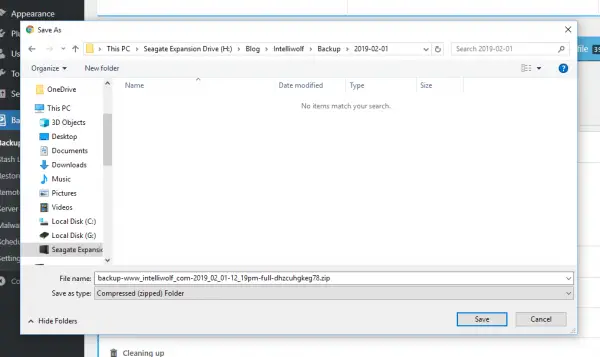
Save it to a place that makes sense.
My system is to have a folder for every website. In that folder I have another folder called "Backup".
Whenever I do a new backup, I add a folder to my backup folder with the day's date in the format Year-Month-Day. That keeps everything in chronological order, so I always know what the latest backup is, even if I use a couple of different backup methods over the life of the project.
If I'm doing the backup as part of a website upgrade, I'll put two folders in the date folder. One called "before" and one "after", or something else that makes sense for that project.
Save the backup zip where it makes sense to you.
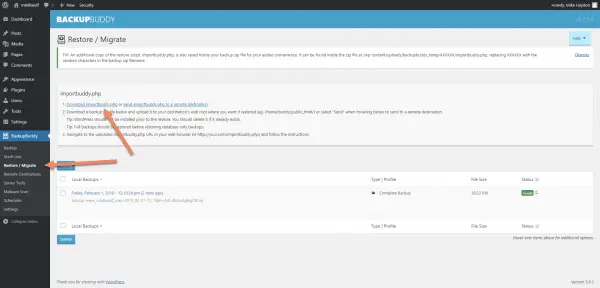
Navigate to Restore / Migrate in the sidebar.
Click on Download importbuddy.php
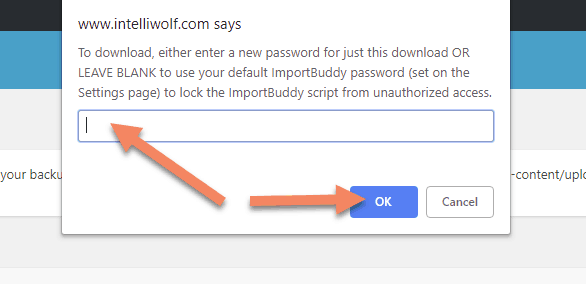
It will prompt you to enter a password. If you don't have a default ImportBuddy password (which you set in Settings), enter one here.
Make sure you remember the password. It's to protect the files, just in case someone happens to open your new website while you're in the middle of the migration.
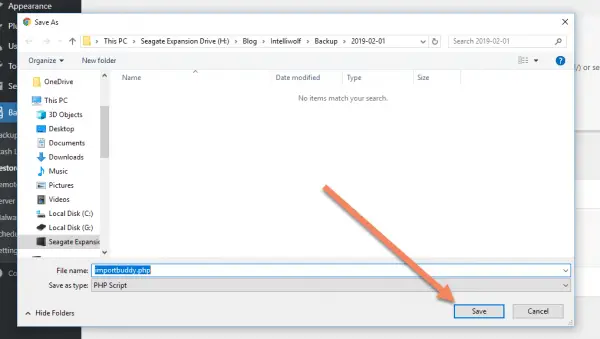
Save importbuddy.php to the same folder as you did with the backup zip.
In case you were wondering, you can't see the backup file in this folder because it's filtering for PHP files. But it's there.
Upload the files to the new server
The next step is to upload your backup zip and importbuddy.php to your new server.
You don't need to unzip the backup zip first. Just move it as-is.
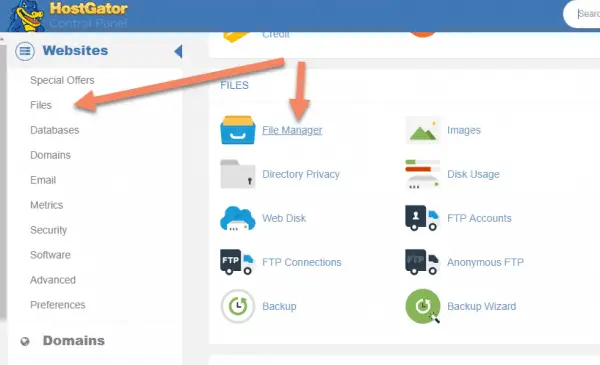
I'll be showing this through HostGator's cPanel, but the process is the same on every other cPanel, and pretty much the same if you use FTP.
Open your File Manager.
Navigate to where your public files are on the server.
This is usually in public_html as I have here.
If you're on a reseller type account, or using subdomains, it will be in the folder you setup for this site.
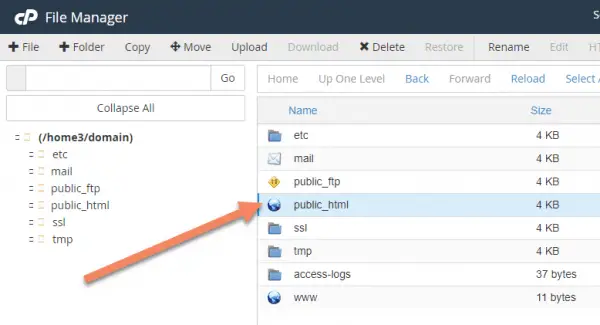
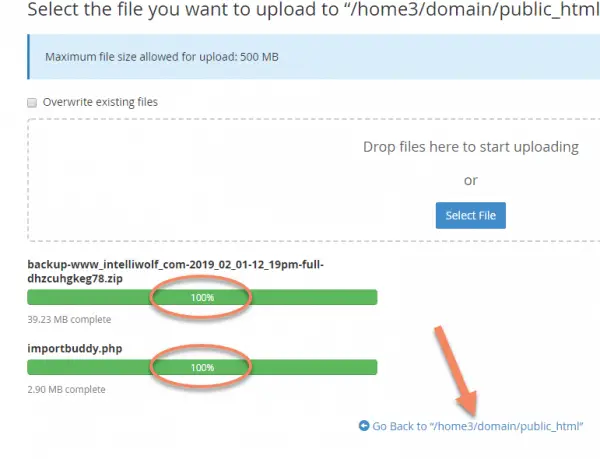
Once you're in the correct location, click Upload.
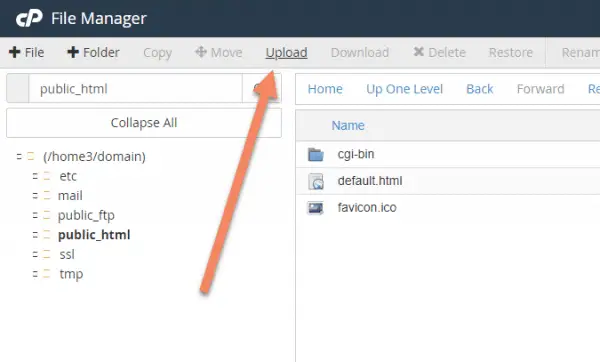
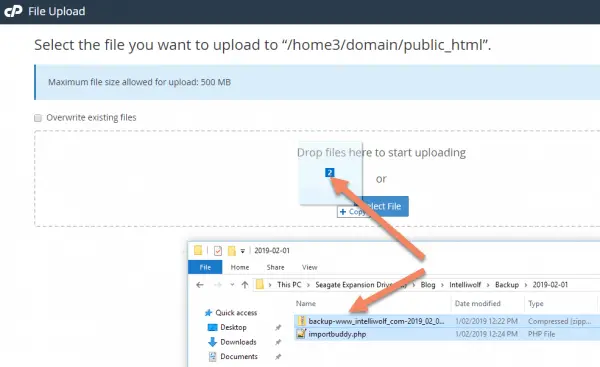
You can either drag the files in or click "Select File" and choose them that way.
Note that there might be upload limits smaller than your backup file. Most backups will be smaller than 500 MB (which as you can see in the image is the limit for this account), but I've had a few that were over a Gigabyte.
If your folder is too large, try an FTP client.
Wait for the files to upload.
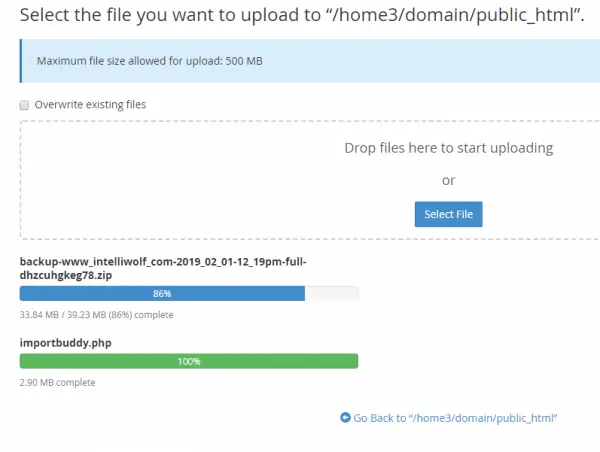
Once both files are 100% complete, go back to your File Manager.
Make sure you delete any default files. You might have default.html, welcome.html or index.html.
If you don't delete the default file, you may have issues later with your site being accessible.
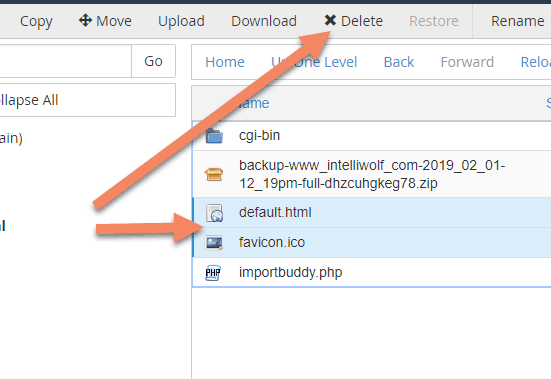
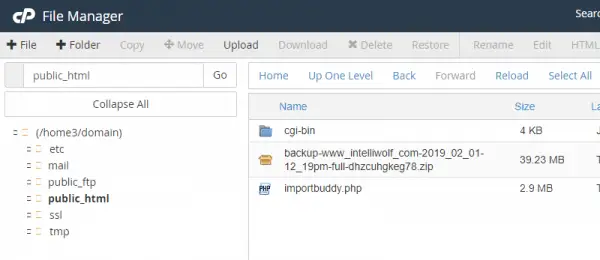
Your File Manager should now have just the backup zip, importbuddy.php and any folders that were there.
If you have a folder called .well-known, don't delete that. It's the main way servers setup SSL certificate verification.
Create a new database
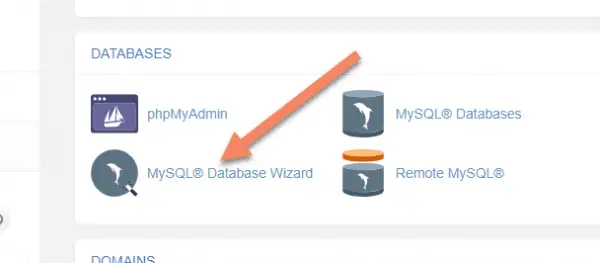
The last preparatory step is to setup the database. This is where the dynamic parts of a WordPress website like posts and user accounts live.
The easiest way is to run the MySQL Database Wizard from your cPanel.
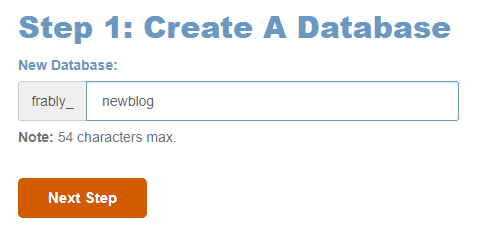
Give the database a unique name. It should be something that you can look through a list and recognize as belonging to this site.
You'll need to save this for later. Be sure to include the first part, so you'd save frably_newblog in this case.
I always save it in a text file in the website folder.
Click "Next Step".
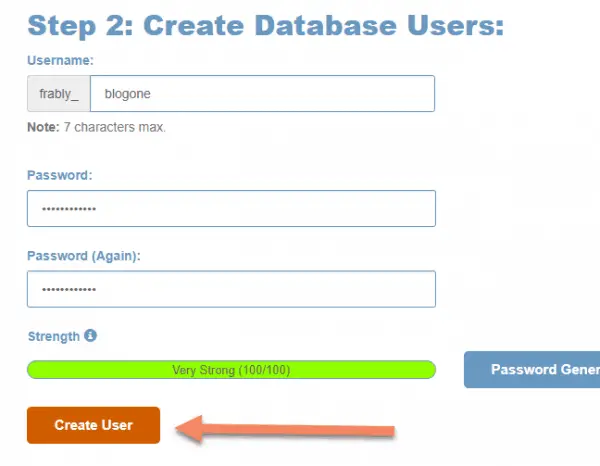
Create a new user. I like this to be named something similar to the database name. You can call it the same thing if you like.
This just makes it easier to manage later, if you have a few databases and users.
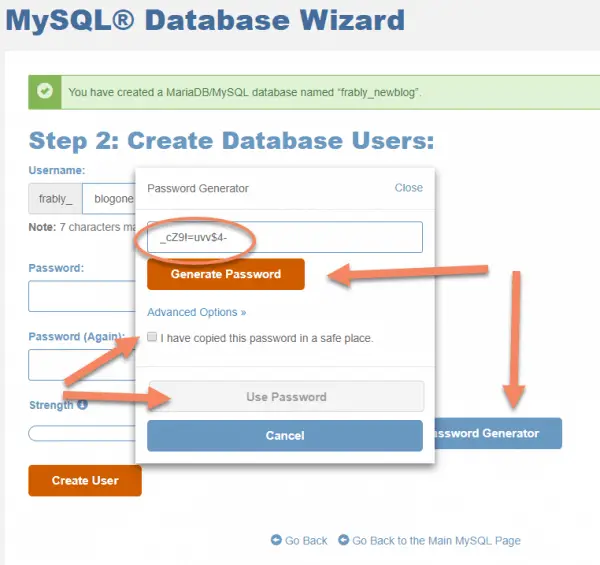
Clicking the "Password Generator" button pulls up the popup as shown. The randomly generated password it creates should be fine.
If you're not happy with the password it generated, you can click "Generate Password" to try again. You can also click Advanced Options if you want to change the parameters, like making it longer.
This is not a password you'll need to memorize.
Be sure to copy the password into the text file from before, along with the username.
By now your password file should contain:
Database: frably_newblog
Username: frably_blogone
Password: _cZ9!==uvv$4-
Once you've copied the password to the text file, you can select I have copied this password in a safe place. That will allow you to click "Use Password".
The Password and Password (Again) fields will be automatically filled with your created password.
With your Username and Password setup, click "Create User".
Now that you've created the user, you need to connect it with the database.
Just click All Privileges to automatically check all the other boxes, then click "Next Step".
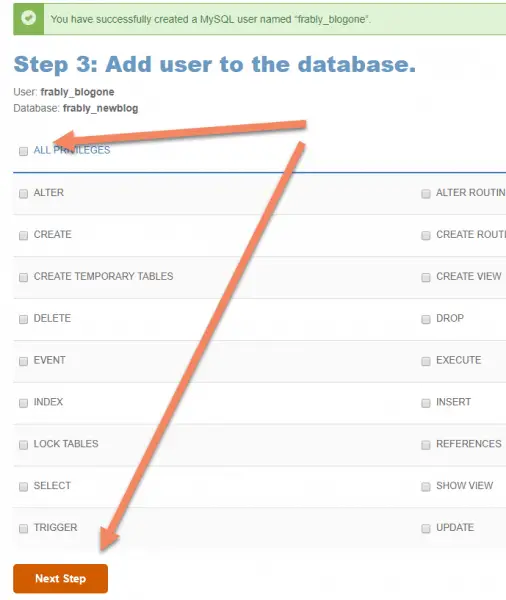
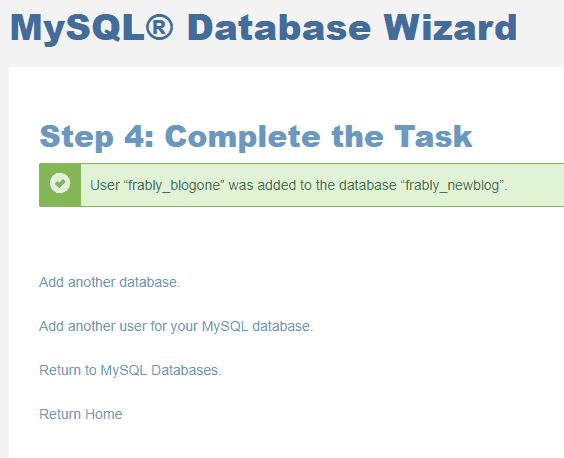
You've now created a database for your WordPress installation, created a user and connected the two.
Run the ImportBuddy installer
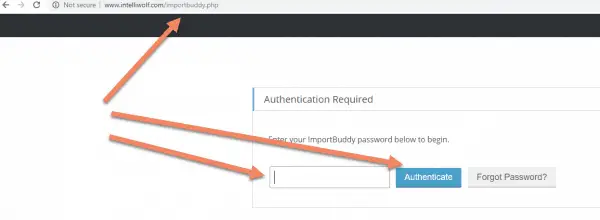
In a new browser window, go to yourdomain.com/importbuddy.php where yourdomain.com is the domain to which you're migrating the WordPress site.
Enter the ImportBuddy password you created earlier, then click "Authenticate".
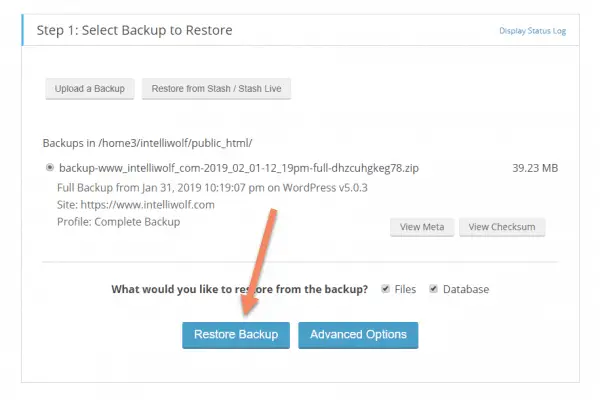
You can leave it on the default options. Click "Restore Backup".
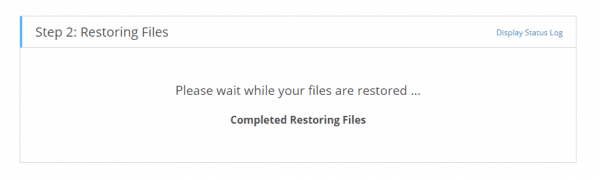
Once it has unzipped all the files and put them in the correct place, you'll see the message "Completed Restoring Files".
On the next screen, you'll input the credentials of the database you created in the previous stage.
Make sure you put them in the correct fields.
Where I've circled next to Database Server, you can just click the arrow to automatically fill from the old to the new. You should do that with the Database Prefix too.
Occasionally, the Database Server will be something other than localhost, but I honestly can't remember ever seeing it.
Once you're done, click "Next Step".

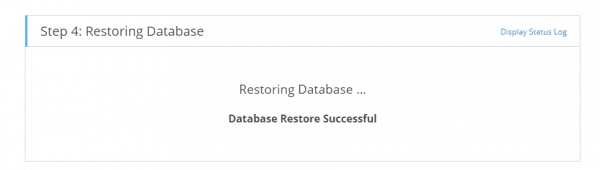
Backup Buddy will create all the database tables for the new install then show a message saying "Database Restore Successful".
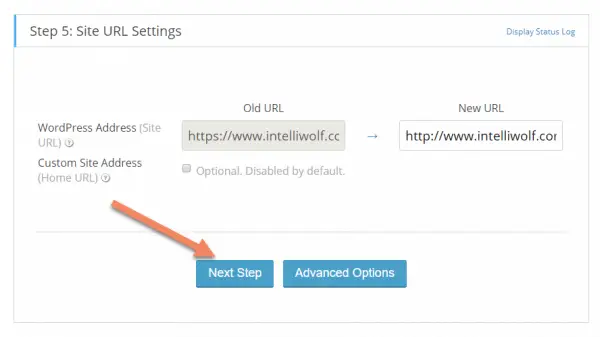
Finally, check that the New URL is correct. Backup Buddy will automatically change the default URLs over to the new website.
Click "Next Step".
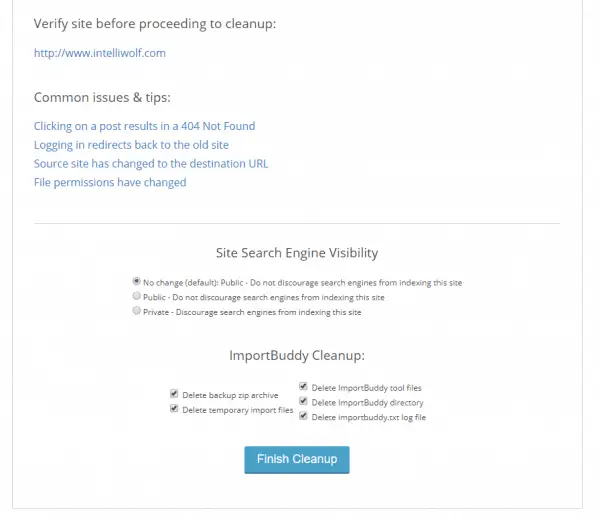
You should be all done now.
Before you click "Finish Cleanup", make sure the site is looking as it should by clicking the link under "Verify site before proceeding to cleanup".
I've come across a lot of the issues under "Common issues & tips". If you do, just follow the links to fix it. I've also got a tutorial on how to fix WordPress here.
Technically you're finished at this point, but there are two more steps I like to do, just to be sure.
Go to Permalinks and click "Save Changes". You don't need to change anything. Just save changes.
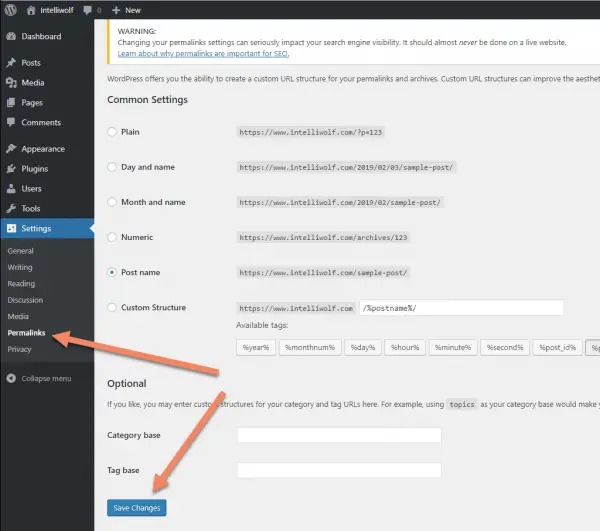
I've never figured out why this works, but WordPress often recommends it. It seems to give the database a bit of a kick, like you might a broken vending machine.
Install and run Velvet Blues
Velvet Blues is a simple plugin that changes URL references from one domain to another.
You'll only need to do this one time.
I've got a full walkthrough on how to update your URLs with Velvet Blues here.
Hopefully all that went smoothly. Congratulations on migrating your website with BackupBuddy.