If you've not worked with it before, the WordPress Theme Customizer can be frustrating.
The documentation assumes you already understand how it works.
I'll save a long discussion on how everything works for another day and dive right into adding a super basic item.
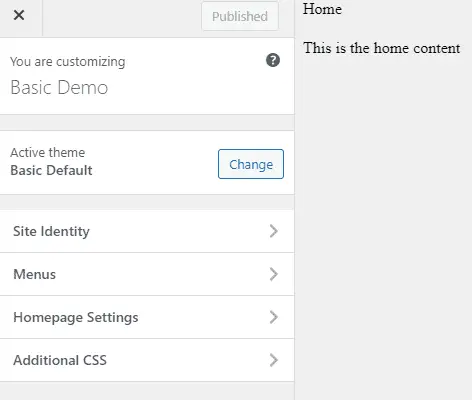
The basic default Theme Customizer looks like this:

We're going to add a section called "Fancy Headers", where we're going to allow uploading a logo.
The code to do that is as follows.
add_action( 'customize_register', 'bd_customizer' );
function bd_customizer( $wp_customize ) {
  $wp_customize->add_section( 'fheaders', array(
    'title' => 'Fancy Headers',
  ) );

  $wp_customize->add_setting( 'bd_logo' );
  $wp_customize->add_control( new WP_Customize_Upload_Control(
    $wp_customize,
	'bd_logo',
	array(
      'label'    => 'Upload Super Logo',
      'section'  => 'fheaders',
      'settings' => 'bd_logo'
    )
  ) );
}
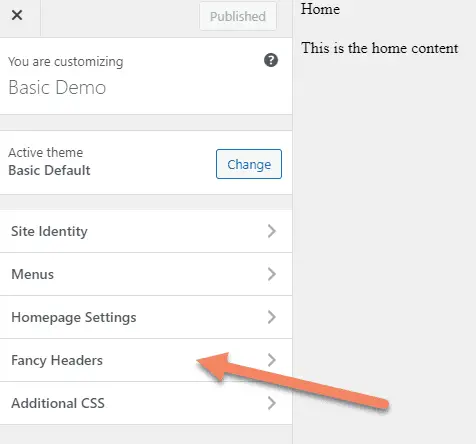
If you put that code into your functions.php file, you'll see a new section called "Fancy Headers".

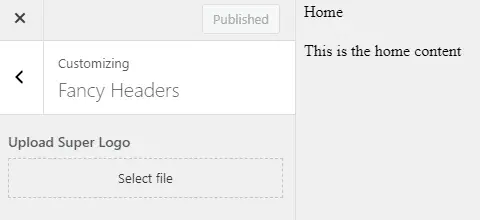
Clicking on that Fancy Headers section will take you to a section where you can upload your super logo.

Why call it that? To make it obvious the titles were custom and not being taken from default text.
I've also only used the bare minimum of code to make this work. If you want to dive deeper into all the options, go to the WordPress Theme Handbook entry on Customizer Objects.
How this works
add_action( 'customize_register', 'bd_customizer' );
function bd_customizer( $wp_customize ) {}
We start by hooking our function bd_customizer into the customize_register hook, passing in the global $wp_customize.
Because $wp_customize is a global, we don't need to return it in the end. And because it's passed through the hook by reference, we don't need to start with global $wp_customize, which you might do with global $post.
Add A Section
$wp_customize->add_section( 'fheaders', array(
  'title' => 'Fancy Headers',
) );
This code adds a section to the Theme Customizer with the ID of "fheaders". We'll need that ID later for connecting the control to this panel.
The second argument is an array of the section options. For this example, I just passed in the title, but there are other options you could use, like a description, the admin level or priority for ordering the sections.
Add A Setting
$wp_customize->add_setting( 'bd_logo' );You need to add a setting for the control to connect in with. The most important part of the setting is to sanitize the entries in the control, but for this demo project that's not going online, we don't need it. We just need something to show in the Theme Customizer.
The first parameter is the settings ID, "bd_logo", which we'll need in the control.
If you're going to add options to the settings, you pass it through as an array as the second parameter.
Add A Control
The final step is to add a control, which is the actual functionality you're adding to the Theme Customizer.
$wp_customize->add_control( new WP_Customize_Upload_Control(
  $wp_customize,
  bd_logo',
  array(
    'label'    => 'Upload Super Logo',
    'section'  => 'fheaders',
    'settings' => 'bd_logo'
  )
) );
Add a new control with the type of control (in this case an Upload control), passing in $wp_customize, the settings ID you setup earlier ("bd_logo") and an array of the options.
In the array of options, the bare minimum to get this to work is the label, the section ID you setup before ("fheaders") and the settings ID you setup before ("bd_logo").
See the WordPress wp_customize_control documentation for all the options you could use.
Once you put it all together, you should have a basic working entry to your Theme Customizer.

