If you want to install WordPress on your local machine, you have a number of software options, like XAMPP, MAMP or Local by Flywheel.
I prefer to use XAMPP because it's been around for ages (so it's stable and has a lot of tutorials), I can use it on my Windows, Mac and Linux machines, and if I want to do some PHP programming outside the WordPress environment, I can.
It's also free and open source.
You won't be able to access any apps or data from your local websites from other devices, unless you've got sophisticated file sharing across your network. But that's outside the scope of this tutorial.
I've also had issues with SSL authentication and https support. It's simple enough to setup for one or two sites if you absolutely need it, but you're better off setting up an install on a server for that.
If you want to show your work to a client or business partner, or get feedback from the community, you will likely run into issues allowing connections into your personal computer. If you don't, then this setup tutorial probably isn't necessary for you.
How to install XAMPP on Mac:
- Download the correct version of XAMPP
- Run the installer with the default options
- Launch XAMPP
- Start the services through manager-osx in the Launchpad
In this tutorial, I'll be using my Mac running macOS 10.14 ("Mojave"), but the steps are the same for the other versions of Mac OSX and macOS 10.x (update: I've tested this on Catalina and it works there too).
Let's install XAMPP on MacOS.
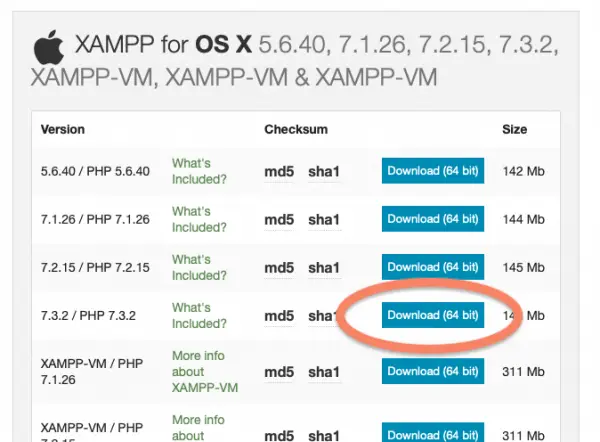
Go to Apache Friends and download the correct version of XAMPP.
For this tutorial, I'll be using XAMPP 7.3.2 for OSX.
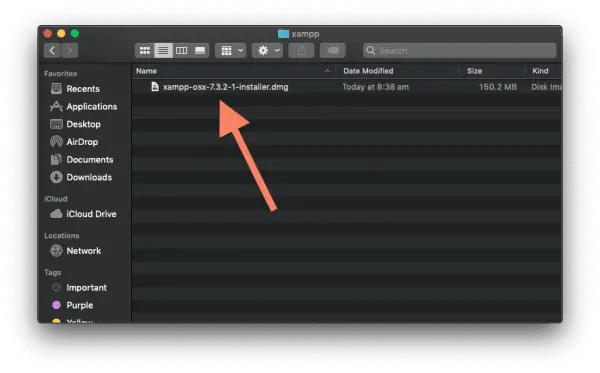
Open the installer.
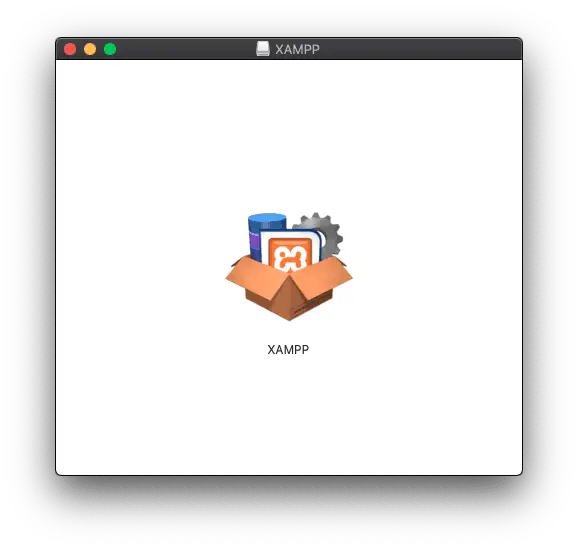
You'll see the XAMPP install window, while it gets everything ready.
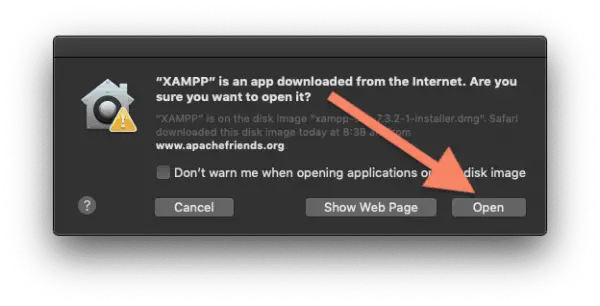
Click "Open" on the warning box.
You'll probably have to put in your computer password to allow XAMPP to install.
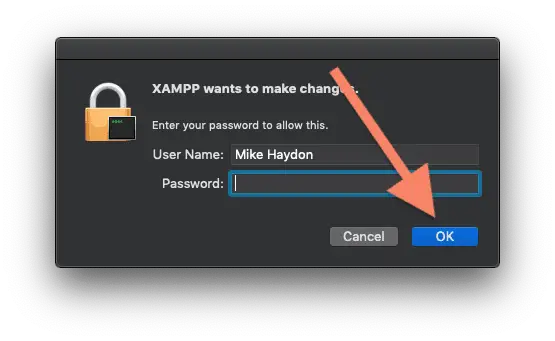
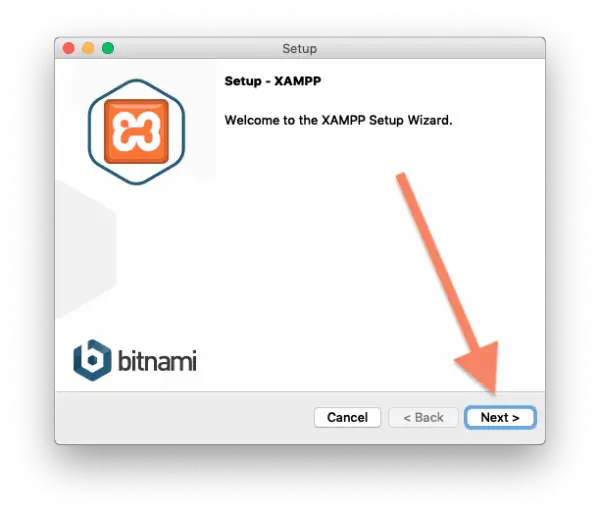
Now that you've downloaded the XAMPP application, let's move on to setting it up. Click "Next" to start the process.
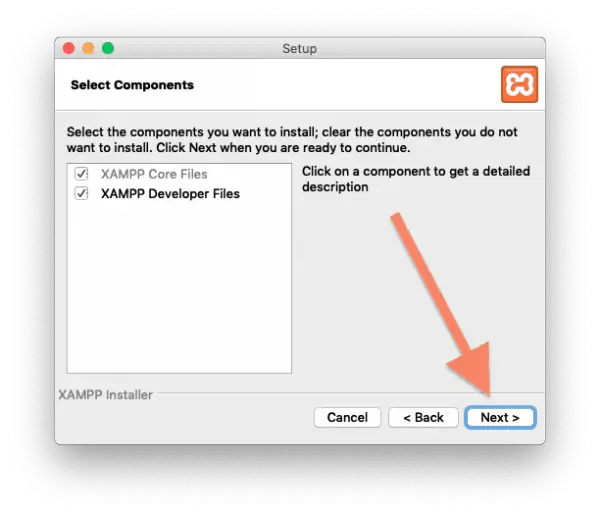
Just leave the default options selected to install the XAMPP Core Files and the XAMPP Developer Files. Click "Next".
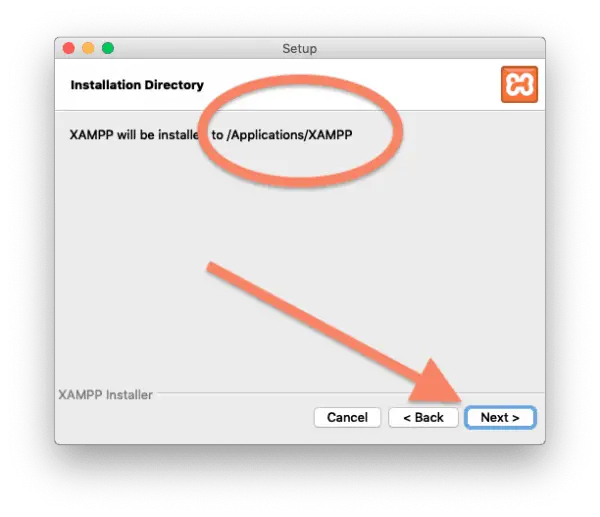
XAMPP will be installed to a folder in your Applications directory.
On a Mac, you will find it under /Applications/XAMPP
Click "Next"
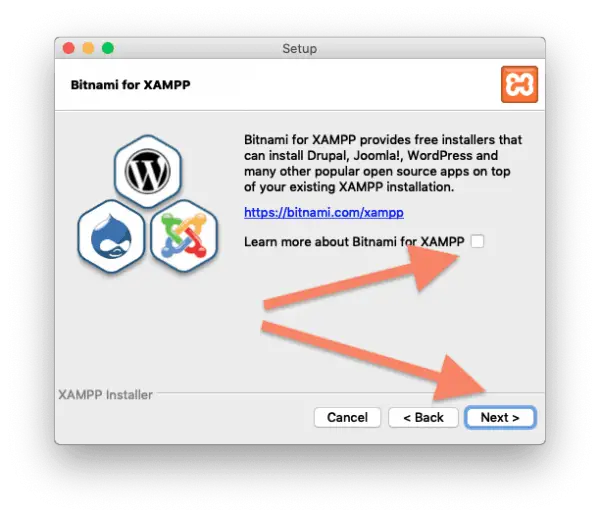
Learn more about Bitnami for XAMPP will be checked. Uncheck that, unless you really need to know.
Bitnami is fine, but I prefer to keep things simple. Fewer things to break.
Click "Next".
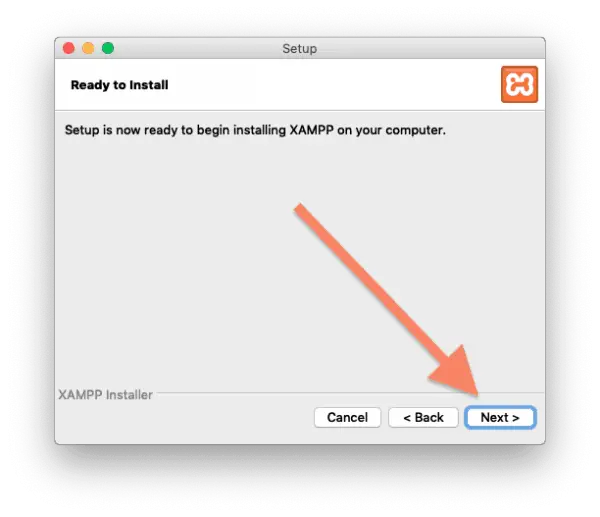
Now everything's ready to go, click "Next".
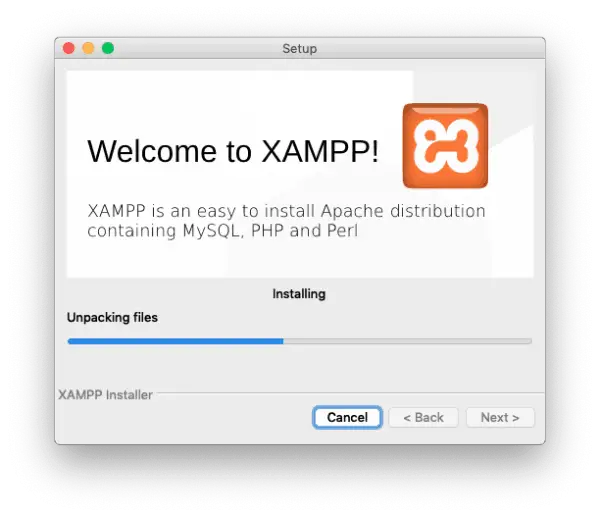
XAMPP will install to your computer. Just let it complete the installation process.
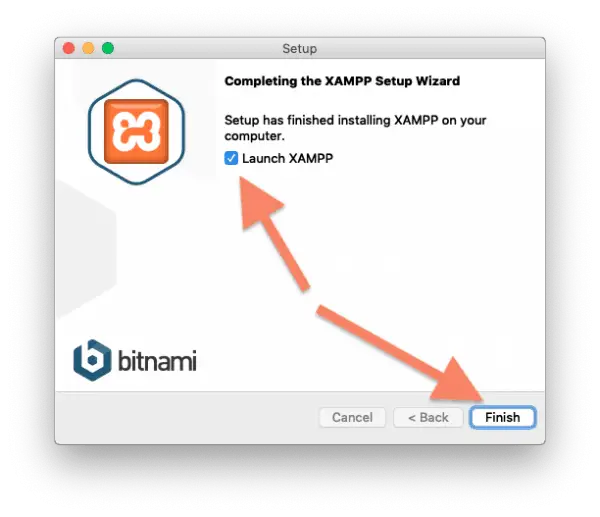
If all goes well, you'll see an installation confirmation.
Make sure Launch XAMPP is checked, then click "Finish".
You'll see the XAMPP control panel.
If you want to build a WordPress site on your local machine, you'll need to start MySQL Database and Apache Web Service.
Just click on them and click "Start".
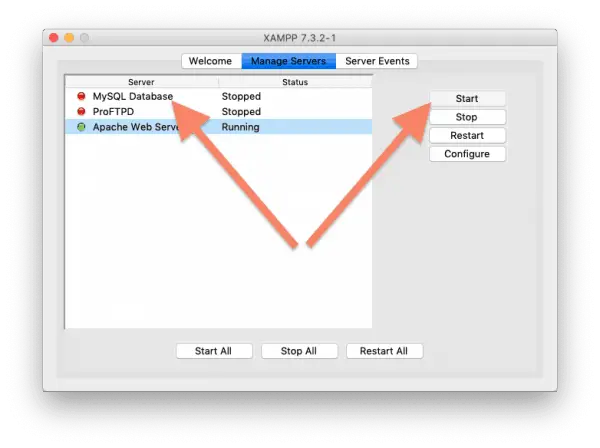
As long as they're both green, you're good to go.
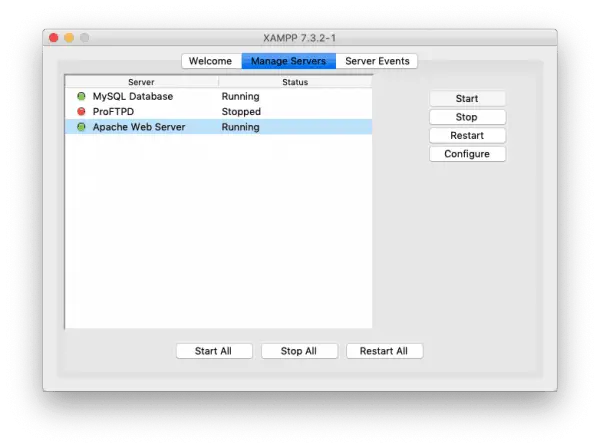
A WordPress website is a combination of the files in htdocs and a MySQL database. Each WordPress installation will be under their own folder in htdocs and have their own separate MySQL database.
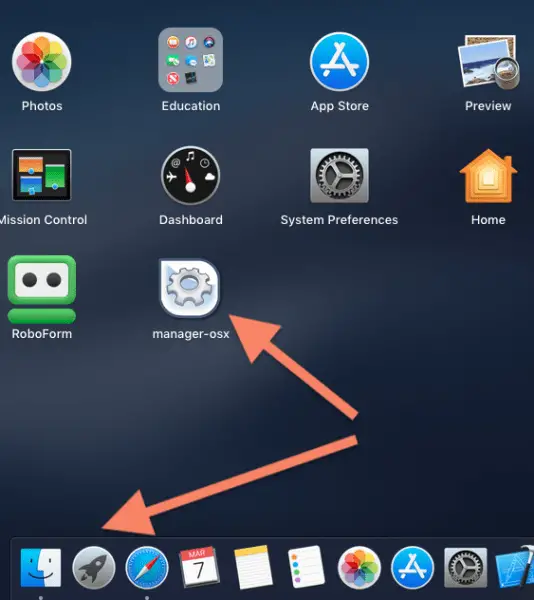
For future reference, you can access XAMPP by going to the Launchpad and clicking manager-osx. This was originally in a folder called "XAMPP", but I moved it for convenience.
How to access your local website
Create a folder in htdocs called "example". Then create a database called example. Connect them with the wp-config.php settings later in this tutorial.
Open a web browser (Safari, Chrome, Firefox, whatever you usually use) and go to http://localhost/example/
You'll find your example website ready at that location. You can create multiple websites in localhost. Just access them through the folders as above. Logins will be through /wp-admin/ as normal.
You can setup accounts for multiple users as you would with any WordPress installation.
You don't need internet access to use your local websites. However, you will need an internet connection to download updates to your plugins, themes or core installation.
Do you use FTP with Localhost?
Because all the files are on your Mac and not on an external server, you don't need to use FTP to make code changes to the files on your websites.
You just need to open the files from their folders with a text editor like Atom. When you save the code and refresh the browser, you will see the changes take effect immediately.
What is the default XAMPP MySQL login?
The default XAMPP MySQL login is:
- Username: root
- Password is blank
That's right, there is no default password for XAMPP MySQL.
The relevant section of your wp-config.php file will be something like this:
// ** MySQL settings - You can get this info from your web host ** //
/** The name of the database for WordPress */
define( 'DB_NAME', 'example' );

/** MySQL database username */
define( 'DB_USER', 'root' );

/** MySQL database password */
define( 'DB_PASSWORD', '' );

/** MySQL hostname */
define( 'DB_HOST', 'localhost' );
How to change the default MySQL password for XAMPP
It's not the best idea to have a blank password for database access, even if it's only on your own computer.
It's pretty easy to change the default MySQL password.
You can use this process if you ever forget your password too.
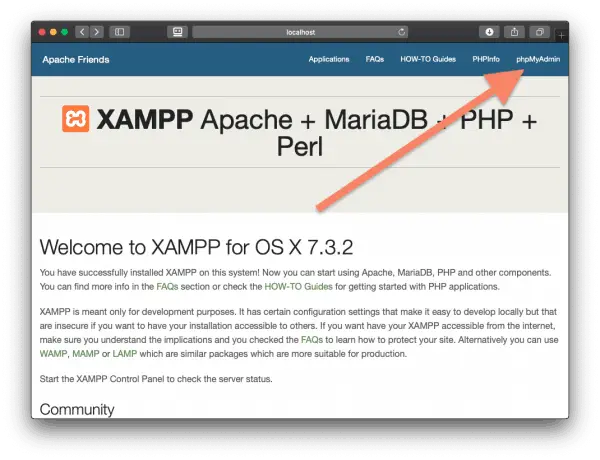
Go to http://localhost/dashboard/
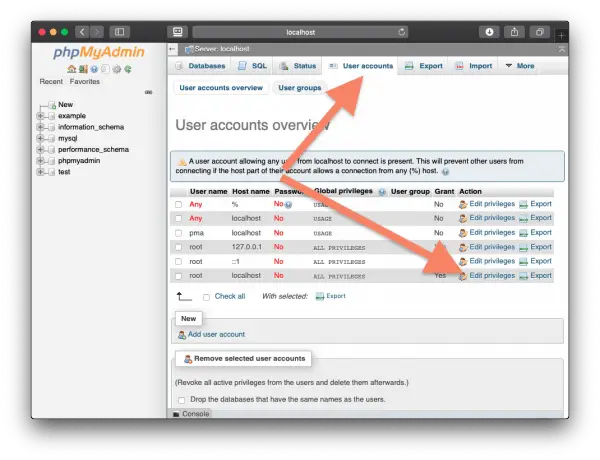
Click phpMyAdmin.
Choose the User accounts tab.
Look for the root user, then click Edit privileges.
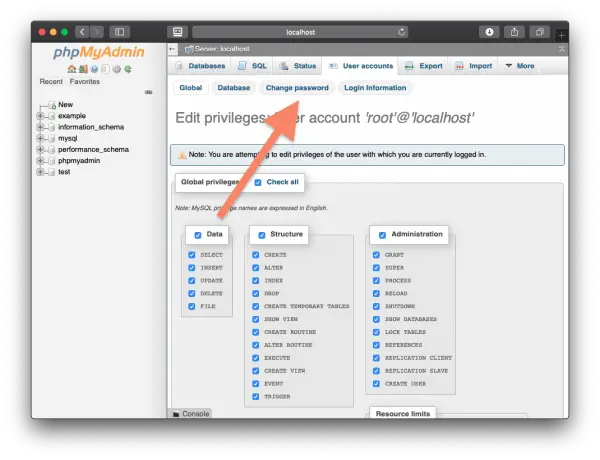
Click Change password.
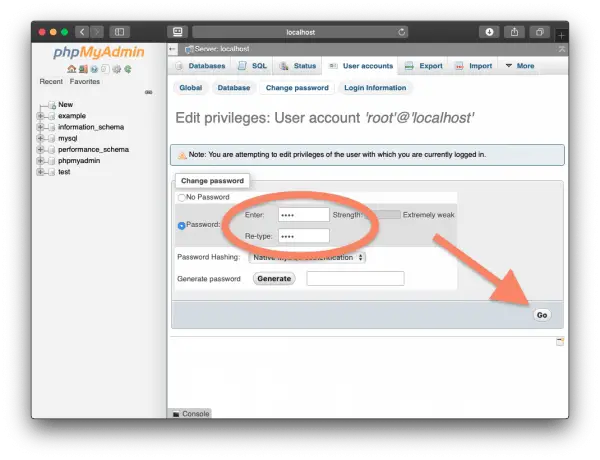
Enter a password into the Enter and Re-type fields, then click "Go".
In this instance, I just used "pass".
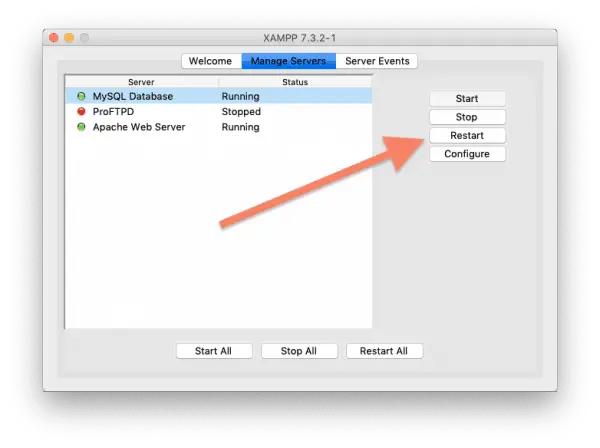
Final step, to make sure the password change takes effect, go to the XAMPP control, select MySQL Database and click "Restart".
If you already have any WordPress installations on the computer, be sure to update the wp-config.php file.
// ** MySQL settings - You can get this info from your web host ** //
/** The name of the database for WordPress */
define( 'DB_NAME', 'example' );

/** MySQL database username */
define( 'DB_USER', 'root' );

/** MySQL database password */
define( 'DB_PASSWORD', 'pass' );

/** MySQL hostname */
define( 'DB_HOST', 'localhost' );
MySQL Error Cannot Connect: Invalid Settings
If you try to connect to phpMyAdmin right now, you'll get an error message saying MySQL cannot connect: invalid settings.
You'll also see mysqli_real_connect(): (HY000/1045): Access denied for user 'root'@'localhost' (using password: NO).
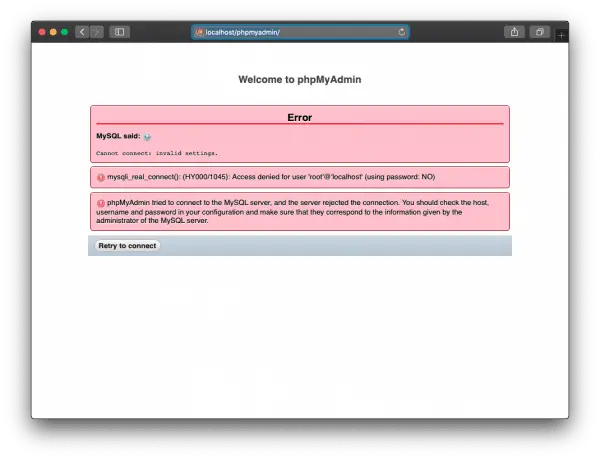
This happens because you changed the password for the root user.
How to fix XAMPP phpMyAdmin access denied after changing root password:
- Open /xampp/phpmyadmin/config.inc.php in a text editor
- On or about line 31, add a password inside the quotes
- Save the file and restart MySQL
Let's go through those steps. Go to /xampp/phpmyadmin/ and open config.inc.php in a text editor.
I'm using Atom for this, but any text editor will be fine.
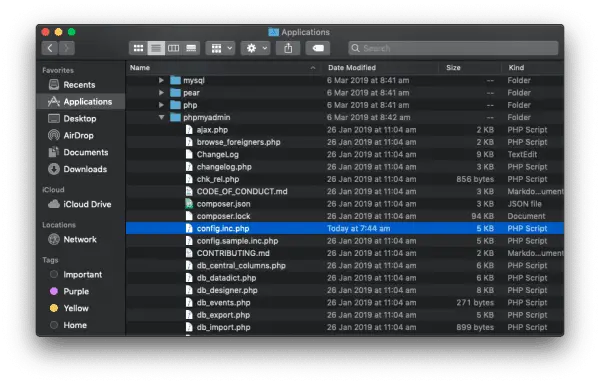
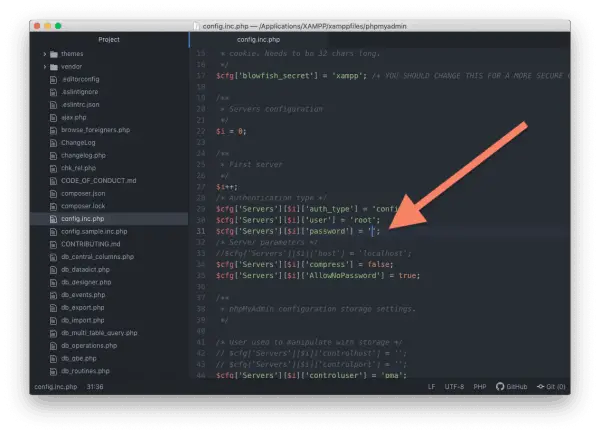
Scroll down a little. In my version, it's line 31.
Look for
$cfg['Servers'][$i]['password'] = '';Inside the single quotes, put the password you created for the root user.
It should look something like
$cfg['Servers'][$i]['password'] = 'pass';Save the file.
Restart MySQL for good measure and you'll be able to login.


Brilliant, thanks for the help man
Thanks for the tutorial
Thank u
Your mention of manager-osx saved me. I had to always run installer every time a restart . Thank you